Plan With Me In 2017!

Are you a planner person? Over the year I've used many different planners, digital and paper. I've learned that paper planners for me are the way to go! I love using fun pens and stickers to make it fun and happy! I thought it would be fun to take you along with me in 2017 in how I plan my weeks and days. 

Are you a paper planner gal or do you use something else? Let me know in the comments below how you like to plan for the new year! 

How We Painted Our Kitchen Cabinets

This post is brought to you by General Finishes, all opinions are my own. Thank you for supporting brands that help make this blog happen. 


The kitchen is done friends! Que the hallelujah chorus and all the praise hands! This project took us a total of 3 weeks to complete. This may or may not by typical but for our situation with two kids, and extra activities this is how long it took us. I can't wait to share with you exactly how we did it, but first let's take a look at how the kitchen looked before just after we installed the tile back splash. 

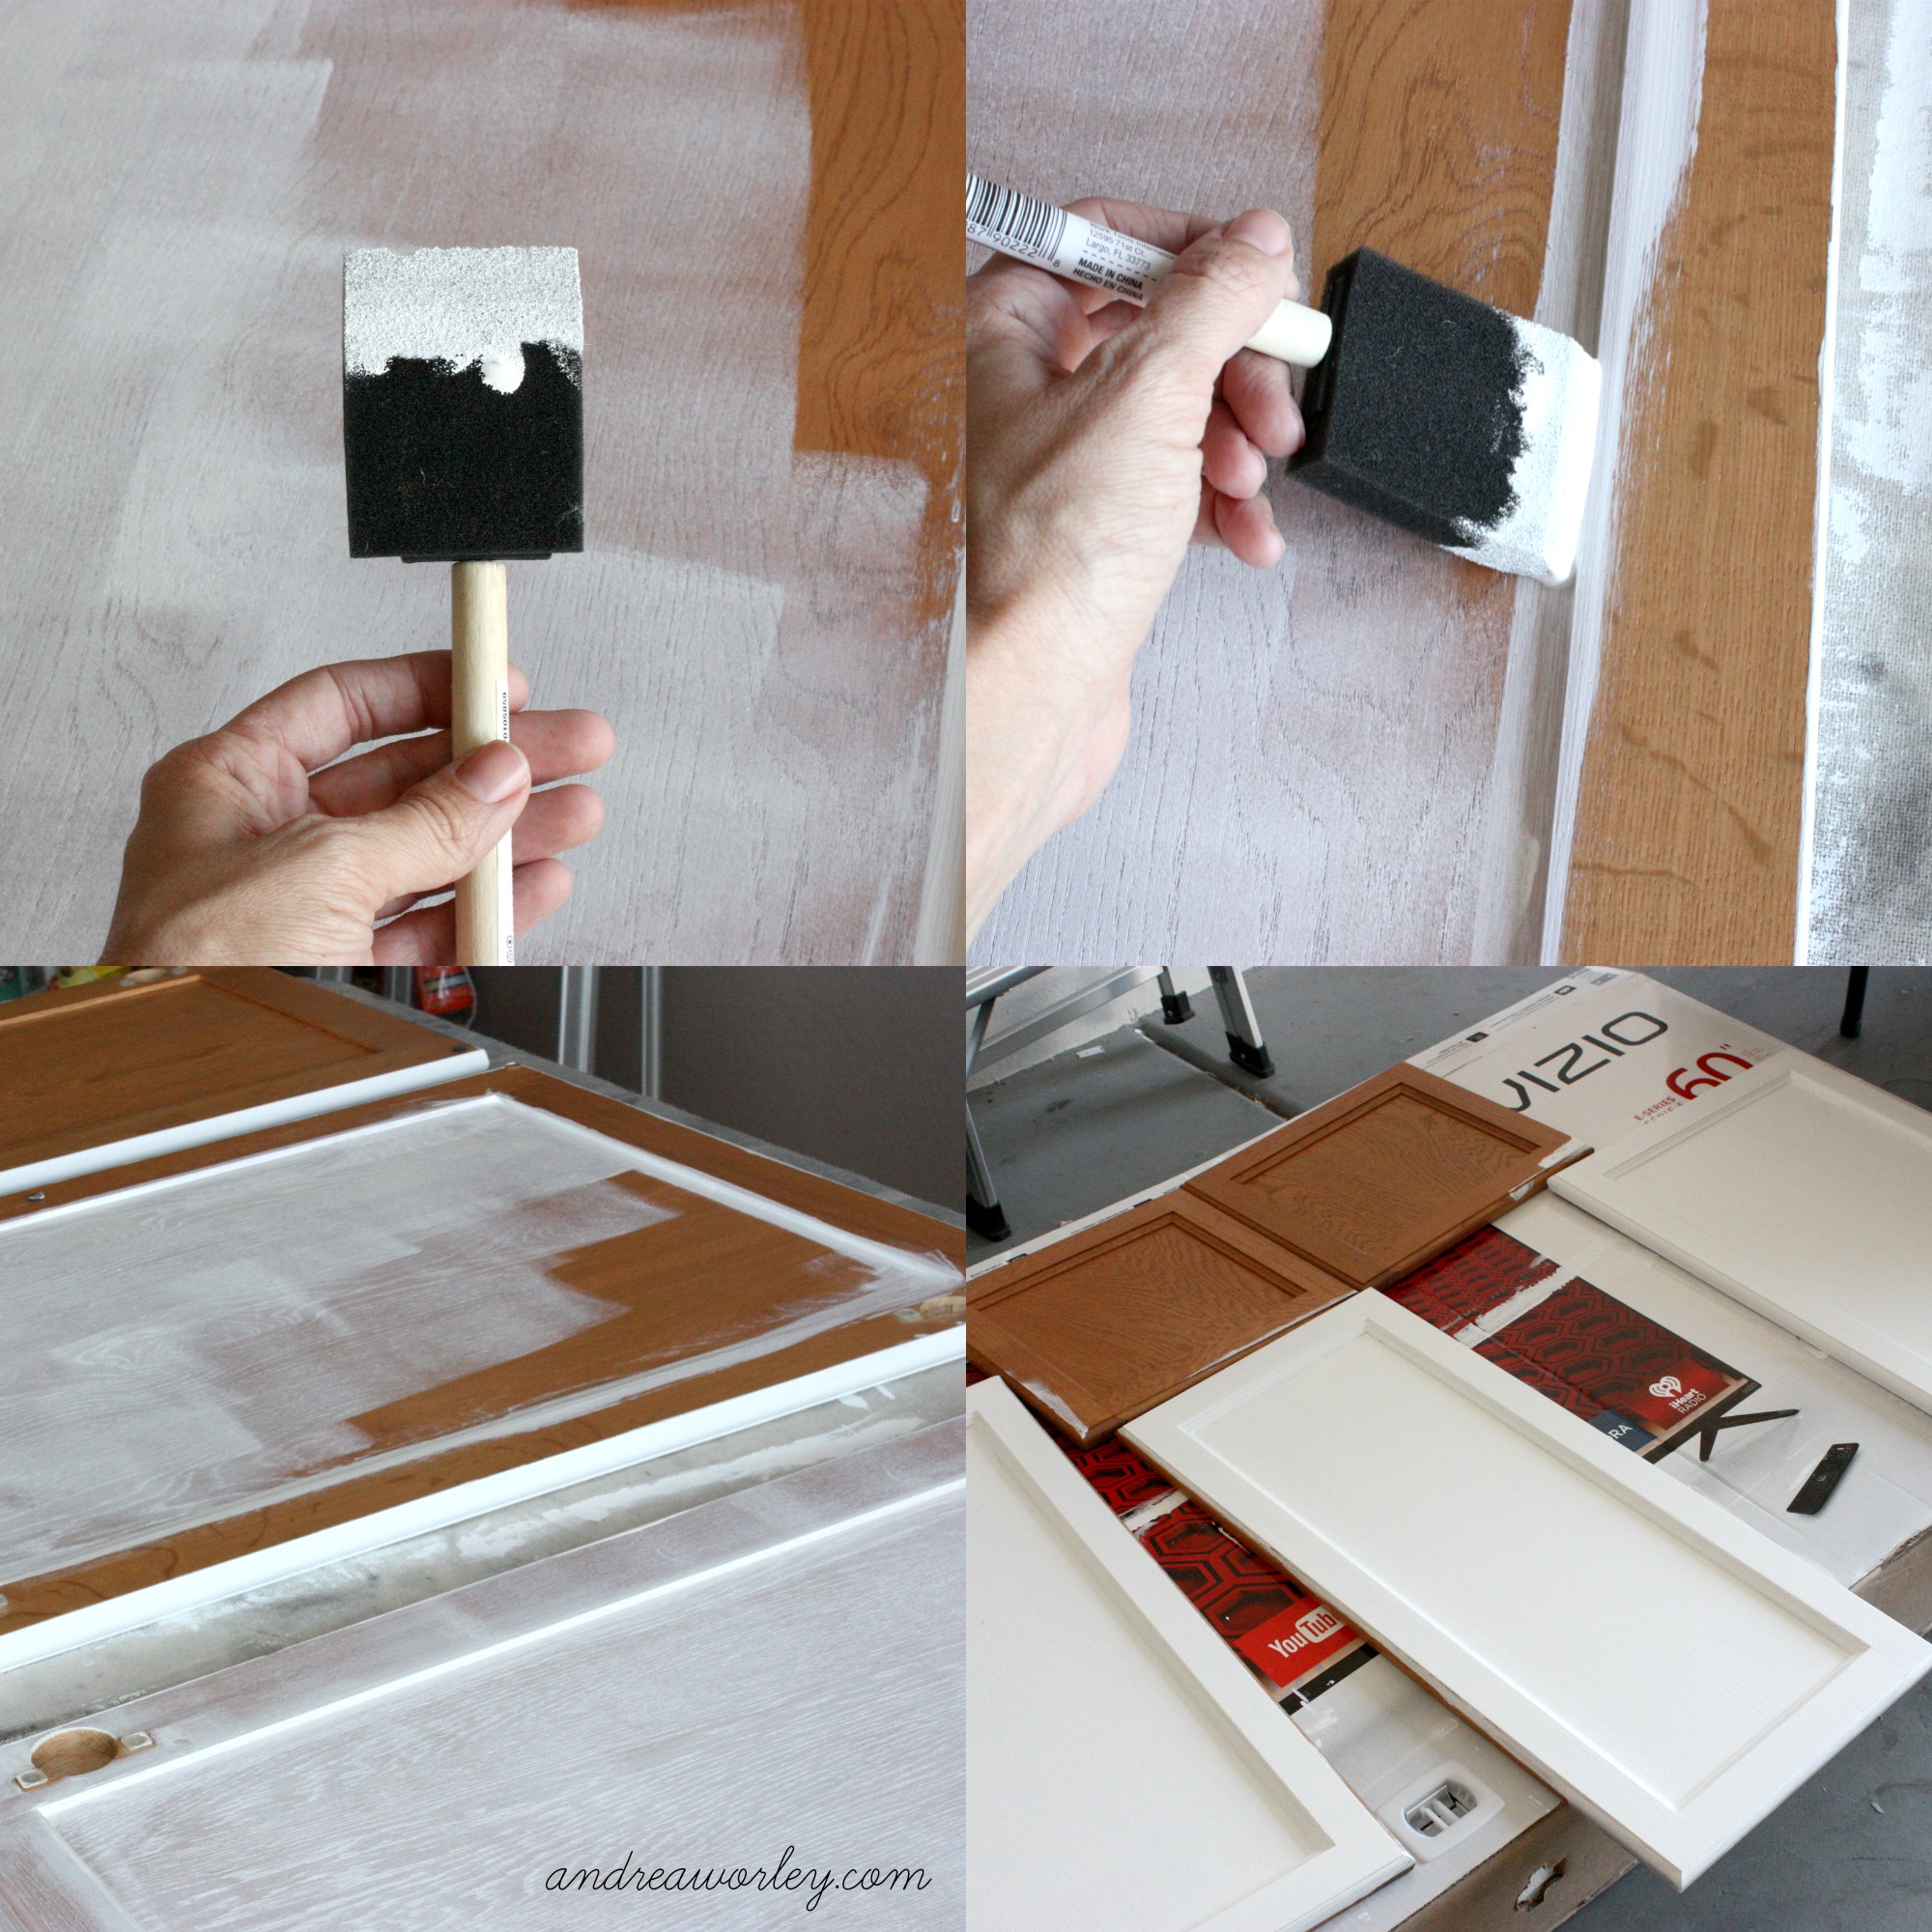
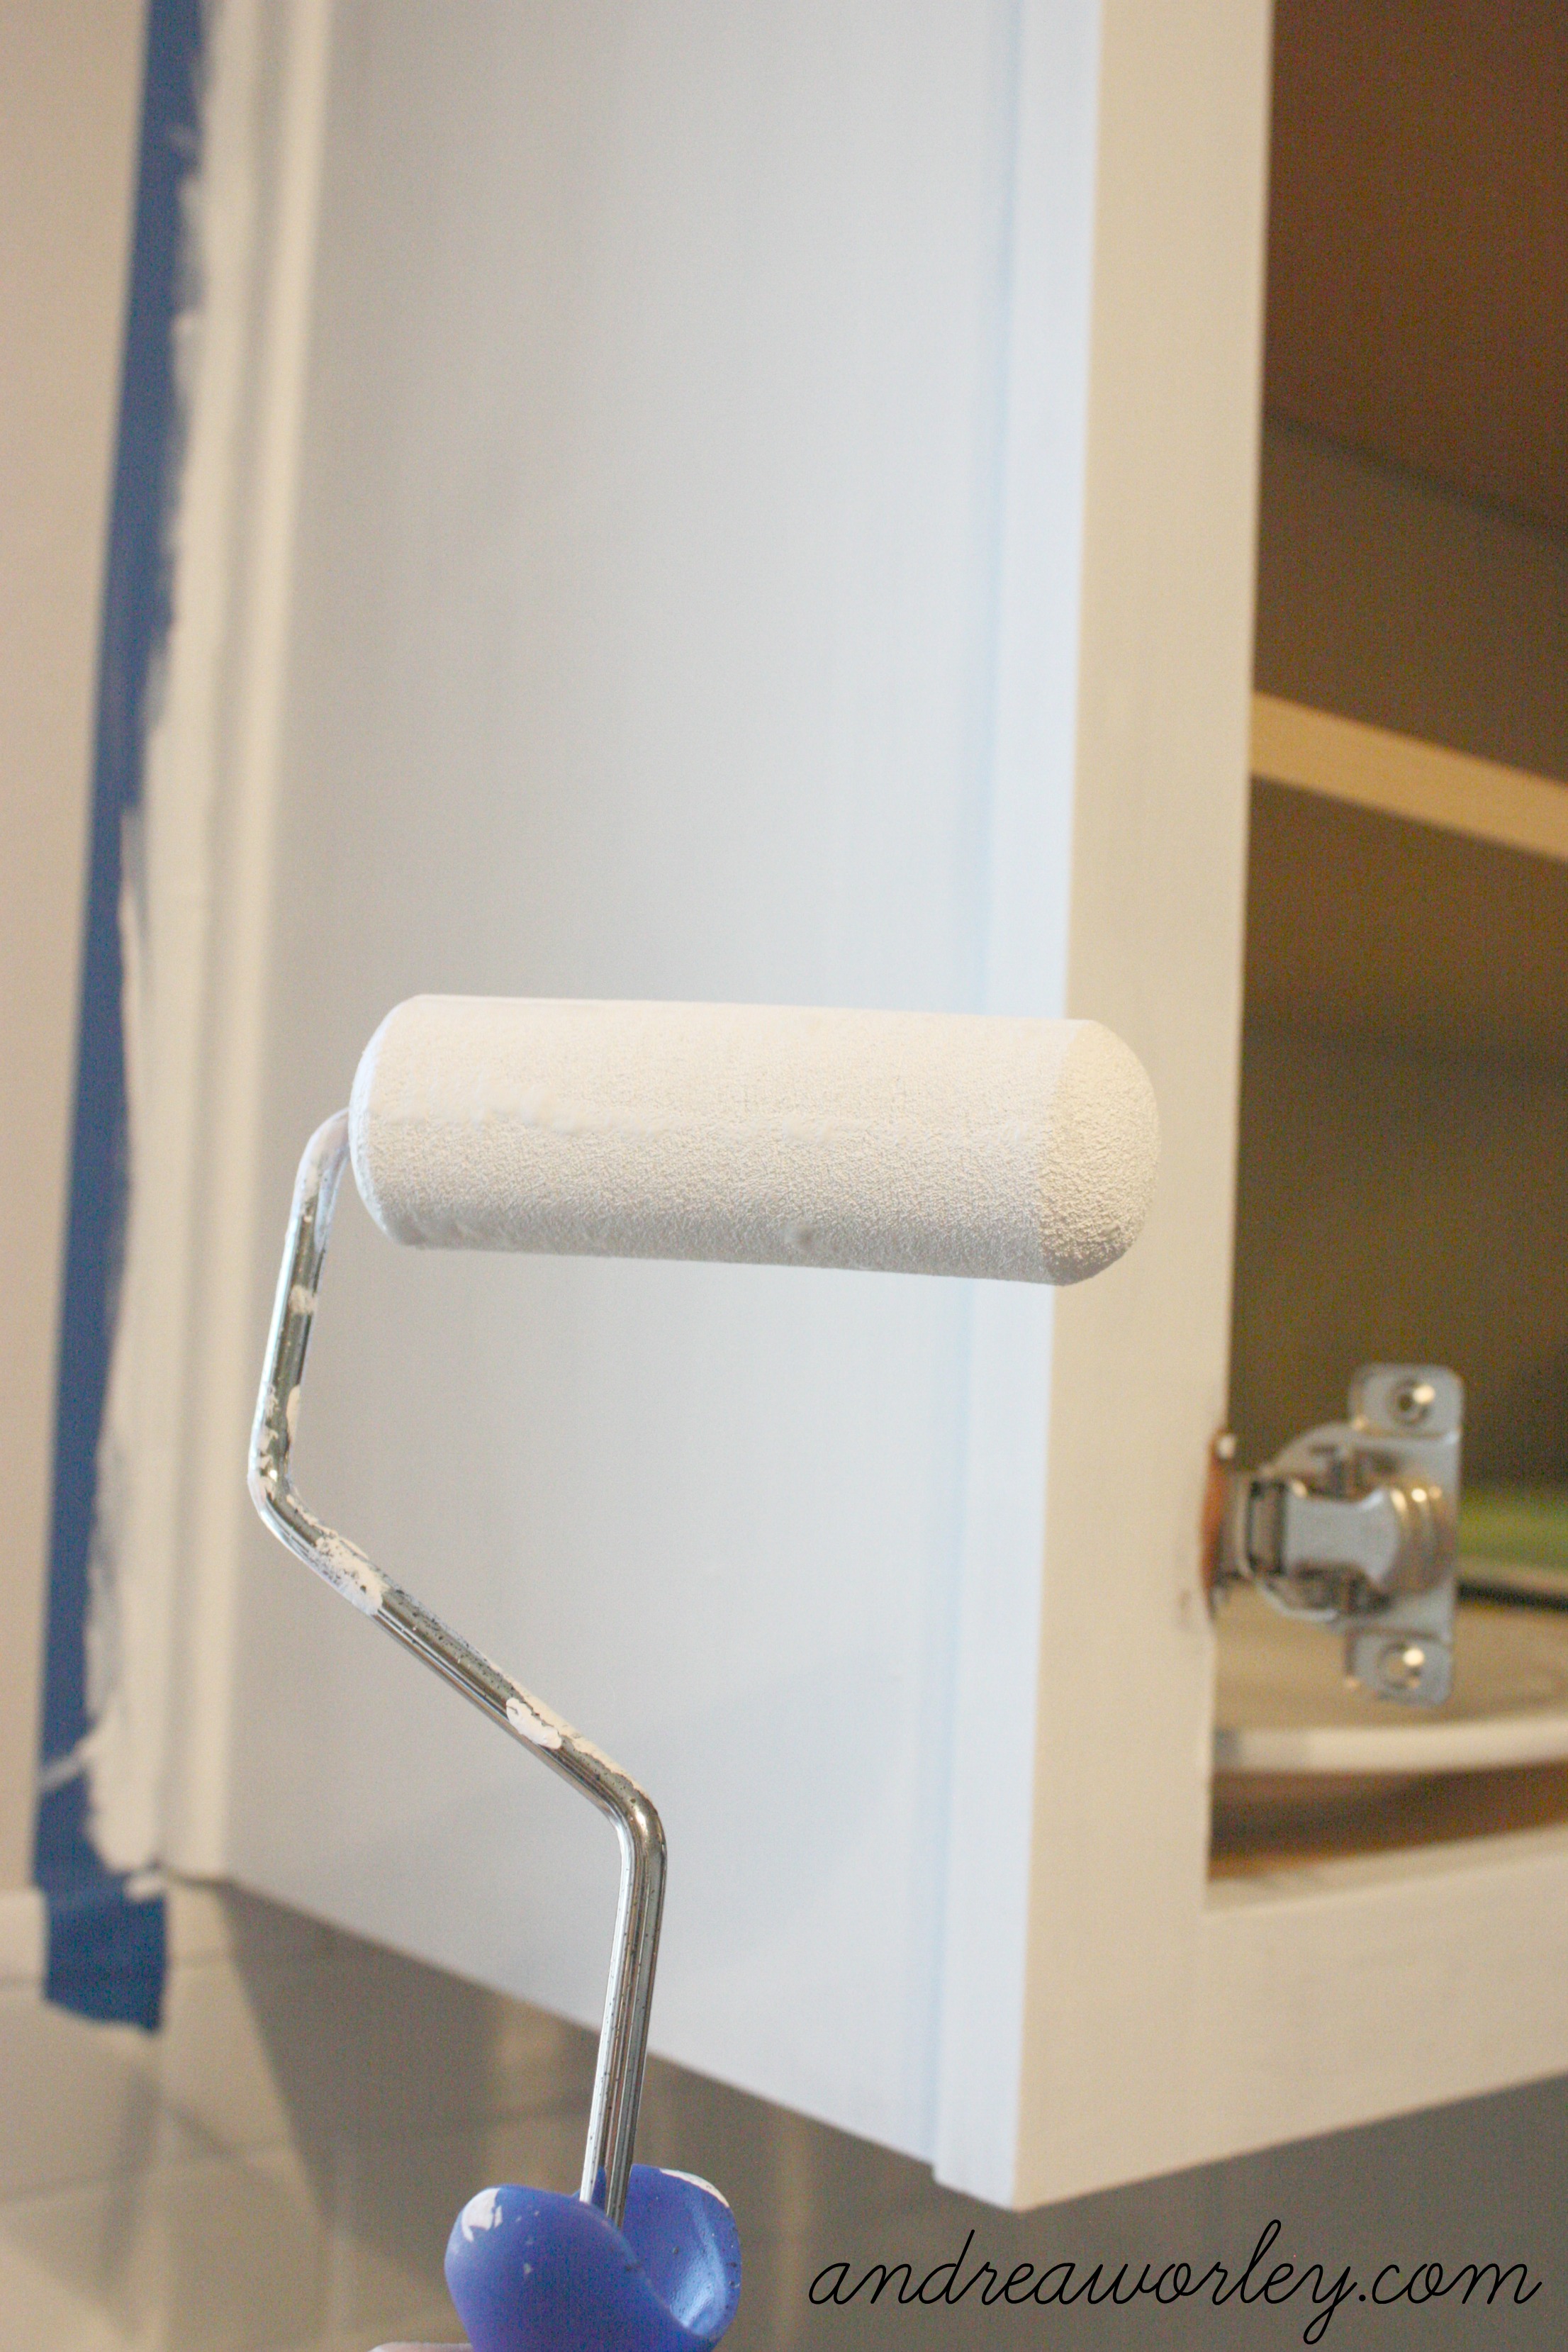
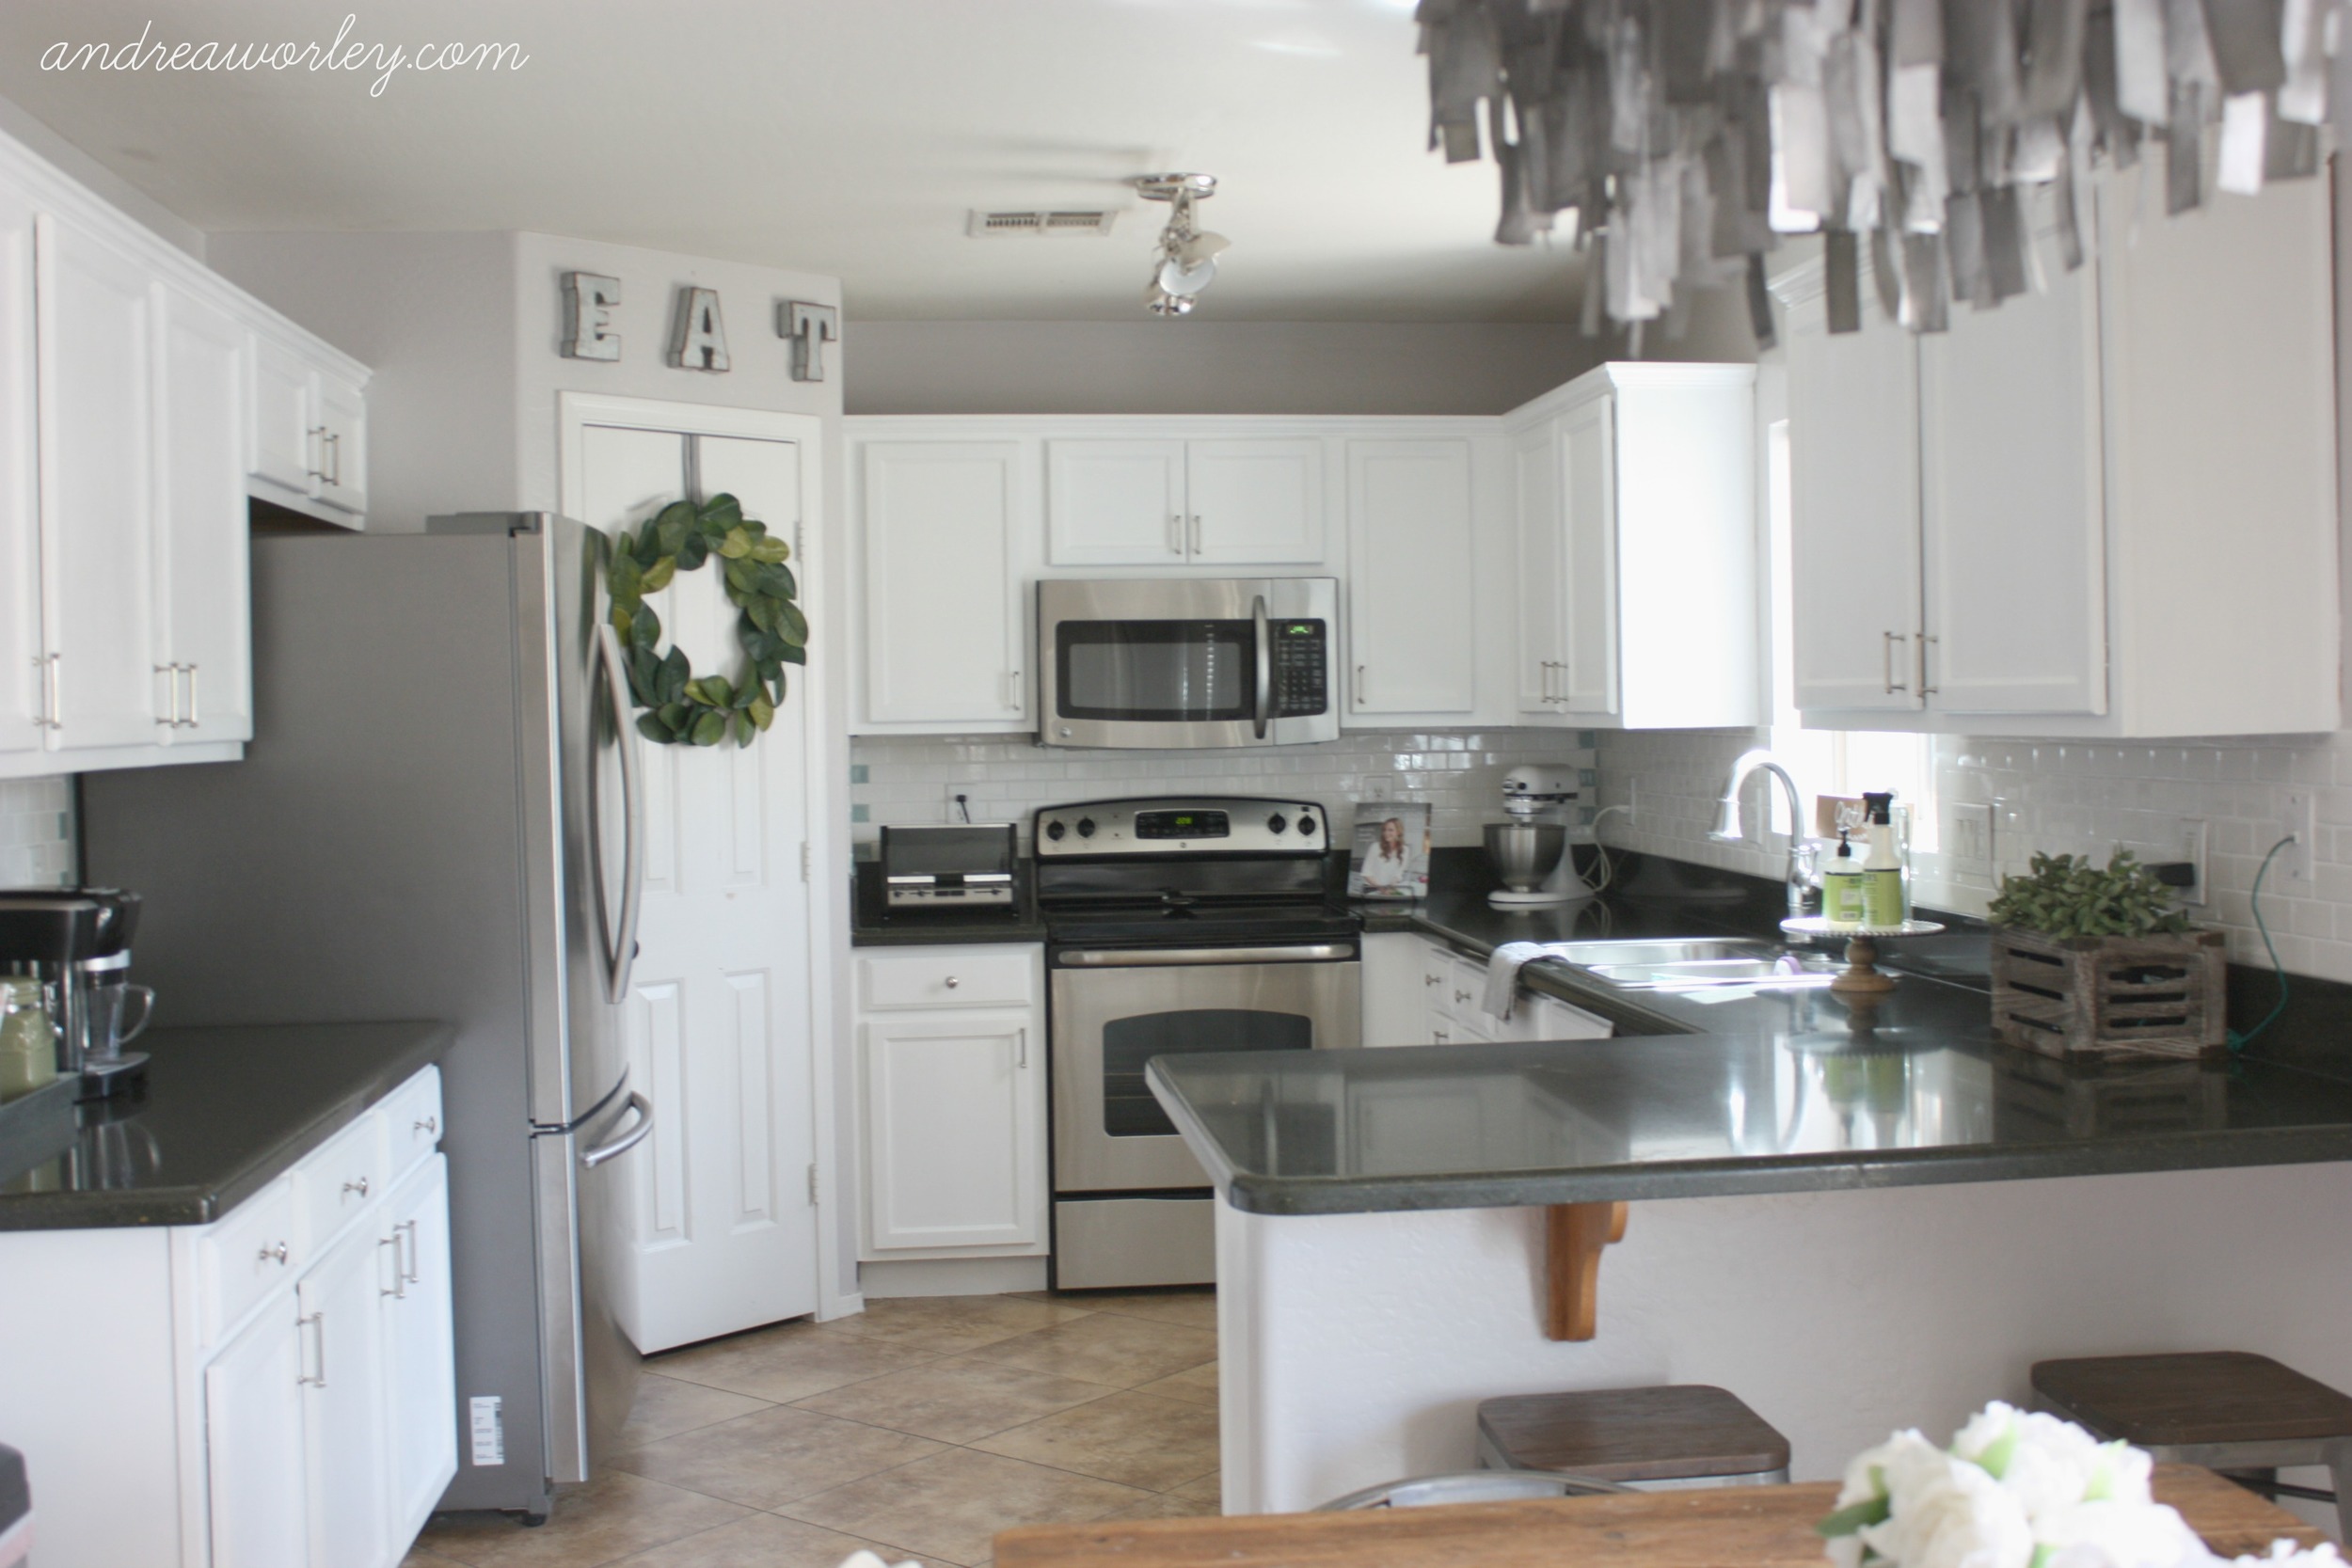
We used General Finishes Milk paint in snow white and their satin top coat for this job. I was excited when General Finishes agreed to work with us, because choosing the right type of paint was perfect for this project. We chose not to sand or prime our cabinets, this is what worked for us.

Here's a few preparation thoughts from General Finishes;

Sanding:

If your project does not start well, it will not end well.
The most critical part of refinishing a piece of furniture happens before you open a can of stain or paint – it starts with the sanding. Prep sanding is absolutely essential, but often it is not necessary to strip away an existing finish.
When preparing an existing finish, start by cleaning with a Scotch Brite pad soaked in a 50|50 mix of denatured alcohol and water. Let the surface dry for 2 hours and then lightly scuff sand with a Klingspor AO 220 sanding pad. Wipe away the dust with a non-sticky tack cloth made for water based finishes or a water dampened rag. Once the surface is dry, apply your finish! We always recommend applying finish to a hidden area of your project before getting started.
See this GF video tutorial on preparing a surface with an existing finish: http://bit.ly/1AUuJo0
 

Deep cleaning:
In cases where the project has a lot of buildup, we recommend scrubbing with a detergent such as Spic and Span first, followed by a rinse, and then by the 50|50 mix of water and alcohol. Let your piece dry thoroughly. You can use commercial furniture cleaners such as TSP but check the label for phosphates - they will leave a residue behind that requires rinsing.

Sanding is essential because it lays the groundwork for your entire project:

1) Sanding roughens up the surface and creates "tooth" on existing finishes for improved adhesion. Finishes will not adhere properly to an smooth, slick surface. Even if the paint holds up at first, problems could appear over time.

2) Sanding helps clean the surface. This is extremely important in kitchens where oils from hands, splatters from food, grease from cooking, and chemicals from cleaners are spread across the surface. These surface contaminants will cause discoloration and adhesion problems. Sometimes, wax or chemicals from cleaning products (i.e. products containing silicone) permanently contaminate the finish and often cannot be successfully removed.

Primer:
Primer should be applied when using white or light colored paints. Raw wood can bleed tannins and existing finishes can leach dyes and stains. The discoloration is more apparent on white and light colors. We often recommend a coat of primer, and then an optional secondary coat of light grey paint before applying the final color. The only way to predict whether bleed through will occur is by testing your entire procedure ahead of time and letting the finish cure for 7-10 days. However, tannin bleed through can occur months after refinishing. Primer may be able to prevent this bleed through but there is never any guarantee with difficult wood species such as Pine, or existing finishes that contain aniline dyes.

We recommend using the following white pigmented shellac based stain blocking primers: Zinsser BIN, Kilz or 123 Stain Blocking Primer.

Preparing raw wood:
Preparation of raw wood surfaces only involves sanding, not cleaning.
Sandpaper that is too fine can seal the pores of new raw wood, preventing the absorption of stain or the the adherence of paint. Here are a few GF guidelines:

Sandpaper grit used to prepare raw wood: http://bit.ly/1S63v2H
General raw wood preparation instructions: http://youtu.be/Tl4s34DZolc
Water based wood stain and wood species: http://bit.ly/1X2P8gg

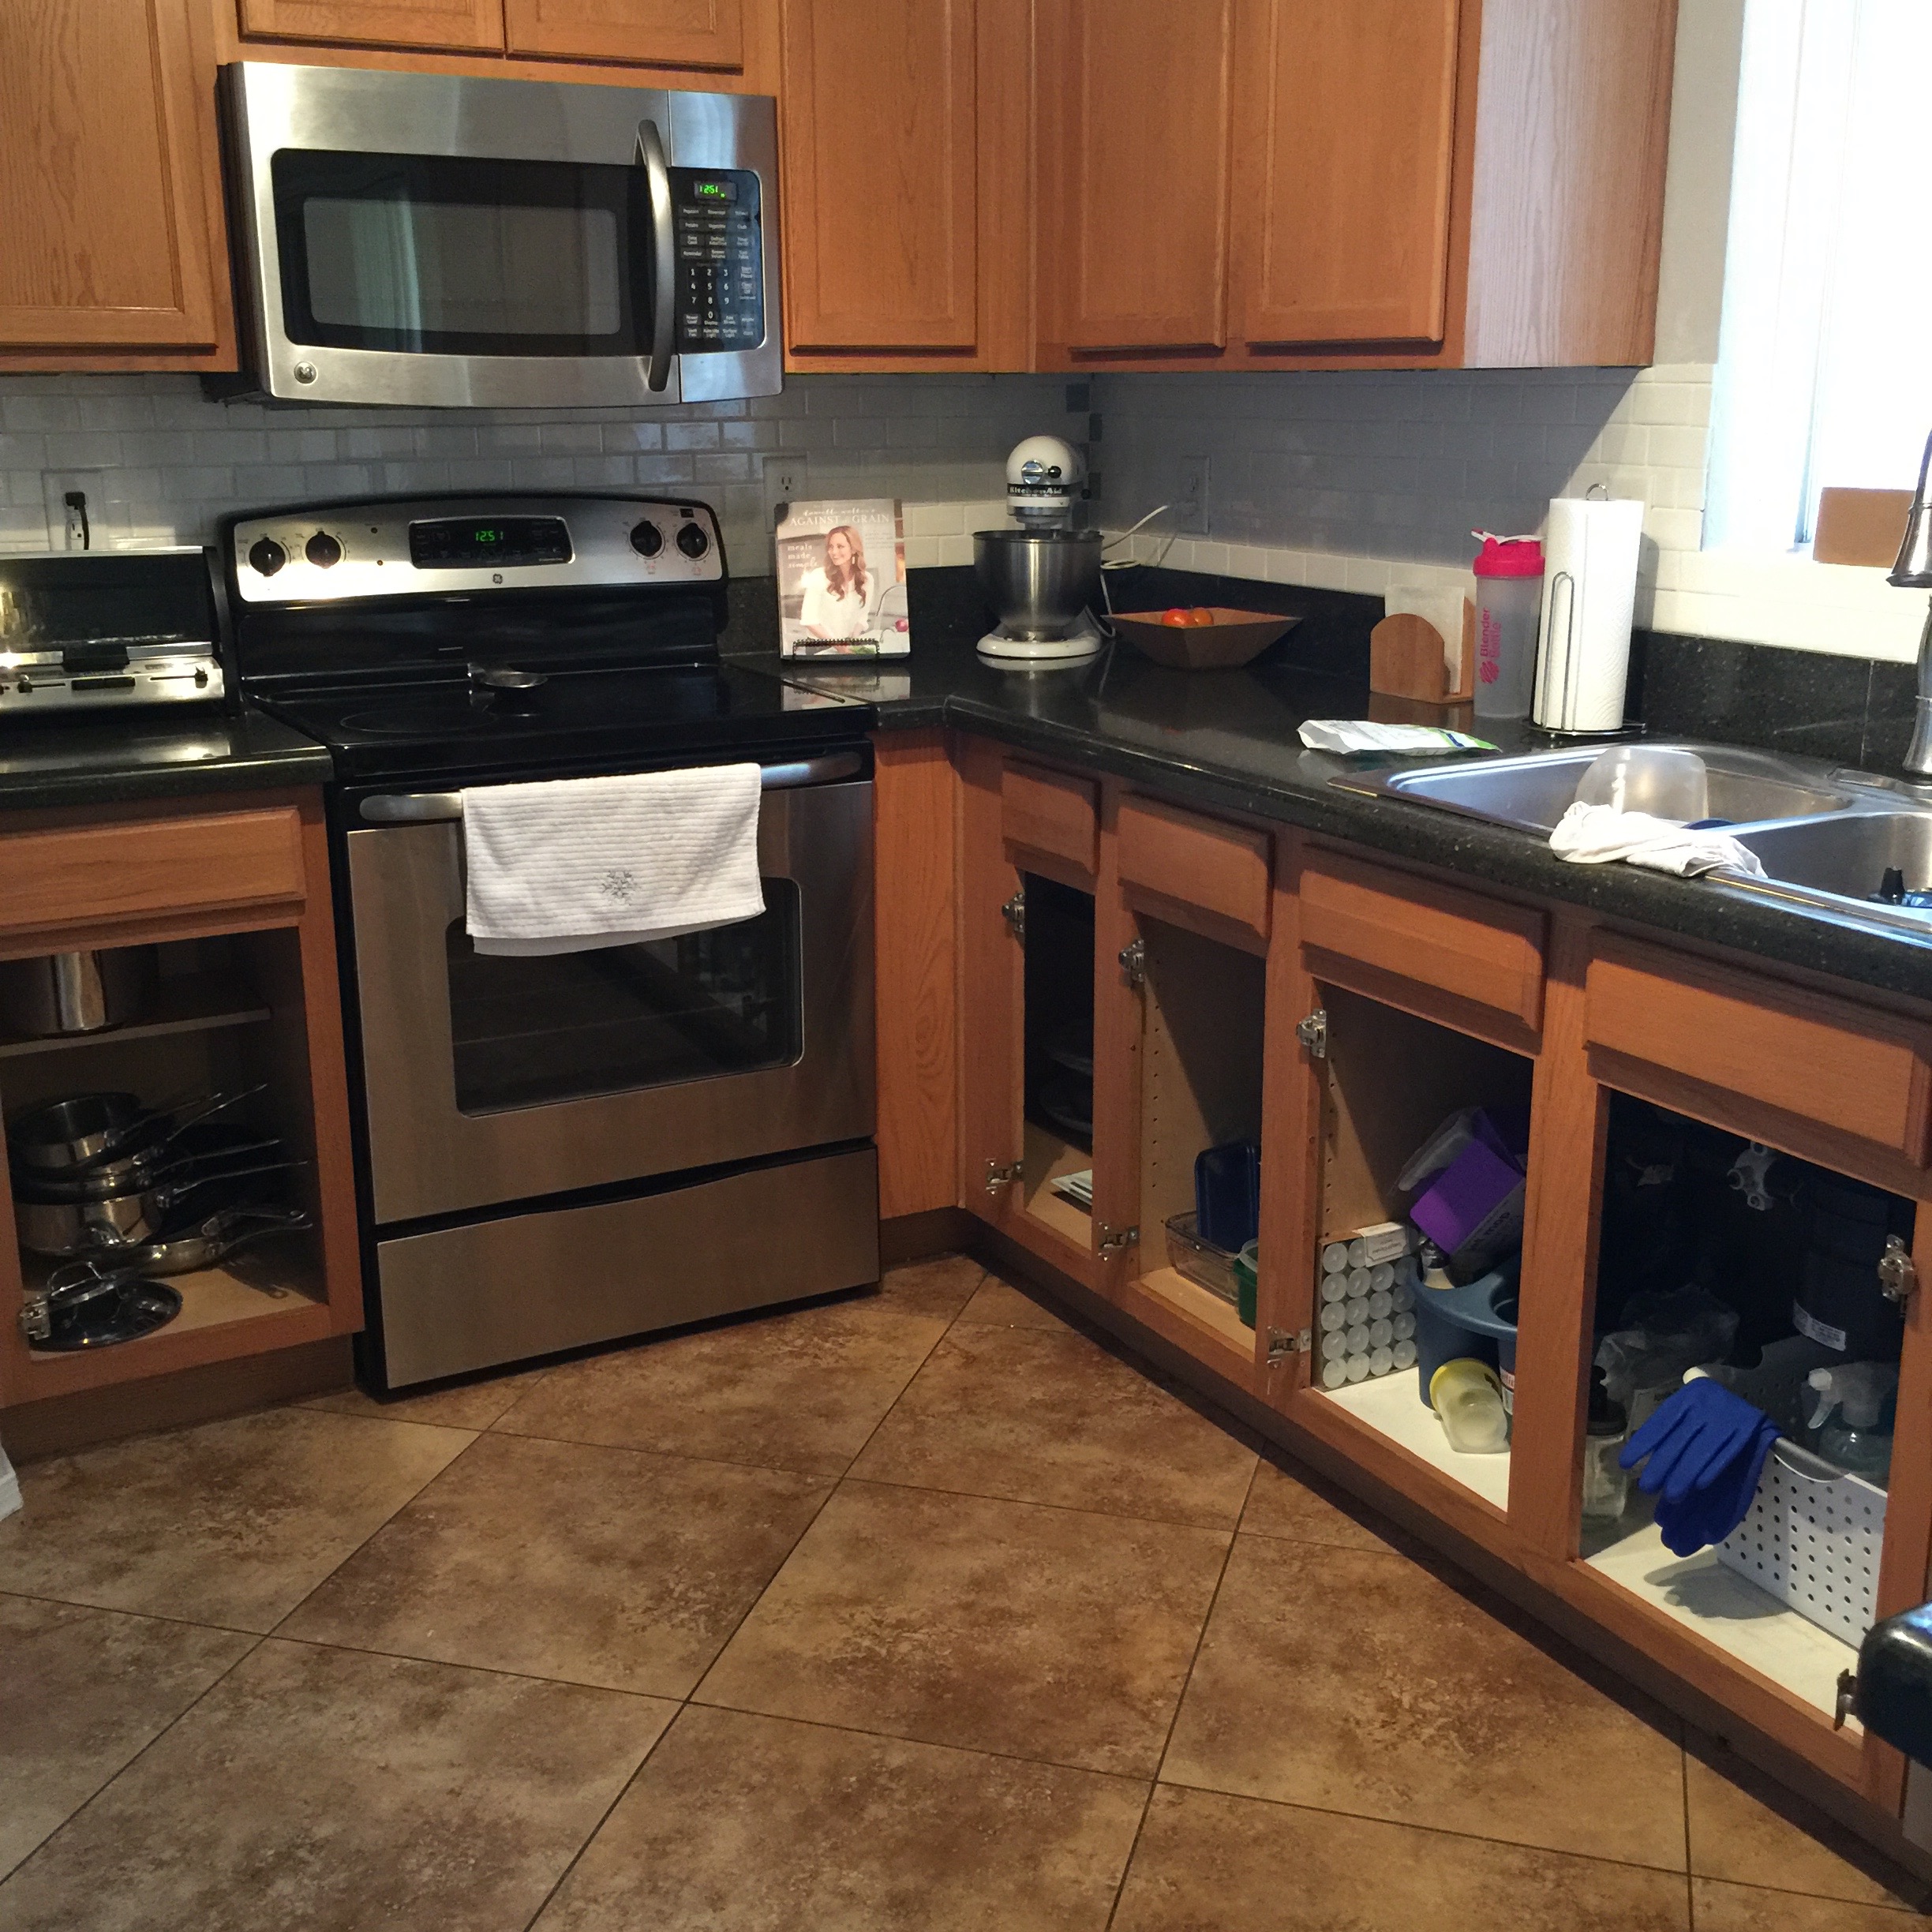
I've used this type of paint before you may remember on our bathroom cabinets and Zane's bed, so I knew there would be some prep involved. Here's what we did to prep our cabinets for painting. 

We used a gentle soap to clean the cabinets and wipe down all the dirt and grit from the cabinets. Once they were all clean we let them dry, this process didn't take long. 

After the cabinets were dry we started painting and I quickly noticed after doing a small section that there were some gaps in the trim where the cabinets came together. I grabbed some all purpose sealer made for kitchen/baths and filled in all gaps around the trim work and in the cabinets. Then continued with painting. 

For the painting I used a foam cabinet and door roller, and sponge brushes (those were .79 cents) to fill in paint in the trim of the doors and cabinets. 

With this type of paint you will see some of the wood grain show through a bit, so because I wanted to get most of that gone I did about 5 coats on the cabinets. Luckily this type of paint dries quickly. 

We repeated these steps until all the painting was done, then we added the General Finishes Satin Top Coat to help seal and protect the paint. 

Looking better already ready with just a few coats of paint! 

Now, for the beautiful after of our cabinet painting! We still have a couple more things to do to the kitchen before it's complete, like add the work work to the bar area and figure out what we're doing with the pantry door. 

We had a gift card to Lowe's so we used that to help buy our hardware and only $41.18 out of our $100 we budgeted for. You can see the rest of the budget break down below:

paint: donated by General Finishes 

paint supplies: $44.91 actual ($50 budgeted)

cabinet hardware: $41.18 actual ($100 budgeted)

This was by far the biggest DIY we've ever done, and I'm so glad we decided to do it ourselves saving us tons of money. Yes, it was time consuming but we're loving the results. I cant' wait to share with you the entire kitchen reveal! 

*affiliate links used. 

Easy DIY Vacation Jars

I'm back with a fun DIY today! We've been making these vacation jars as we like to call them for the last couple years, they couldn't be more simple to make. These are all from our vacations to the beach, but you could use any items that you collect in any city on your vacations. 

I used these labels I found in the Target Dollar Spot, I wrote the location and the year and placed them on top of the mason jars. I bought my mason jars using 50% off coupons from JoAnn Fabrics. 

Fill'er up with all your little vacation momentos and you're good to go! 

They turned out so great, and Ava keeps these on her dresser. What ways do you keep memories for your family vacations? I'd love to hear them in the comments below. 

Kitchen Update & Some Added Plans

We started the biggest portion of our kitchen reno; the cabinet painting! With kids running around and life still revolving I knew we wouldn't complete the project in a weekend. I knew it would take us longer. But that's ok we're taking our time and getting it right. 

We've been using General Finishes milk paint for this project. So far we're loving the results. I plan on doing a whole tutorial on how we painted our cabinets once we're done. Look for that soon. 

For now some progress shots of the kitchen; 

Adding the hardware has been the icing on the cake! 

As we started this project we were able to save some money on the kitchen thanks to some Lowe's gift cards we'd stocked up. So that got us thinking about other areas of the kitchen we wanted to add to. 

So we're adding some wood around our bar/counter area. The kids eat breakfast there every morning and we'd love to add some character there. We're also either going to replace or paint the pantry door, I haven't decided and it sorta depends on what I stumble on out on my antiquing adventures. 

So here's our new budget:

Light Fixture ($40 acutual)

Tile Backsplash ($215 actual)

Cabinet hardware ($100 budget)

Paint (donated)

Supplies ($50 budget)

Wood accents for bar area ($180 budget) 

Pantry door ($100 budget) 

Can't wait to share with you the cabinets when they are finished. For now you can catch sneak peeks of our kitchen on Instagram follow me @andreamworley or by using #worleyhousekitchenreno 

Our Kitchen Reno | Tile Backsplash


I've been hinting and talking for a while now that the first major project in our new home would be updating our kitchen! We've been saving our pennines, pinning and planning since we moved in 7 months ago. We knew that this would be one of the things we tackled in our home for 2016, so today I'm sharing with you the first project we tackled in our kitchen; tiling the backsplash. 

While my step-dad was in town over Christmas he helped my husband and I work on the back splash in our kitchen. My mom even stepped in and helped, it was a family affair. He and I went to the store a few days before and I picked out the tile and all the supplies we needed. 

I'd been searching online for a while, and visited both Home Depot & Lowes to see their tile options up close and personal. In the end I chose this 12x12 white subway tiles with these glass tiles for fill in areas around the corners and ends. 

This was a project we were able to complete within a weekend, but it didn't come without some trial and error and a run to the store for more supplies. Overall we were pretty impressed with ourselves as first timers doing tile work. My step dad helped us a lot especially with all the tile cutting around the outlets. 

We budgeted $300 for this portion of our kitchen update. With tile, supplies and the rental of the wet saw we came in at $215 just under budget which makes us doing the happy dance! 

Seeing it all come together was so fun. Next step add grout, seal and clean up! 

Our kitchen is the biggest home DIY we've attempted so far. What I've learned already is measure, re measure and then do it again just to make sure everything is correct. Also allow for more time than you think to complete a project. Whatever you think it's gonna take, double that. I thought we'd knock this out in a day, but I was wrong. After a few trips for more supplies (hence re measure) we were back on track. It was more realistic to tackle this within a weekend. Which is what we did. Let's take a quick look at the before and then the beautiful after. 

My kitchen feels so fancy to me now! This has for sure been such an awesome upgrade to this space and we love how it turned out and can't wait for more projects in this space! The next thing we want to do is paint the cabinets. Our main two goals for this space was to brighten it up and add value to our kitchen, I think we've got a great start on accomplishing our goals! 

DONE:

  • update light fixture ($40)
  • tile backsplash ($215)

TO-DO:

  • paint cabinets
  • add hardware 

Thanks for letting me take you on a little tour and show off parts of our kitchen!