Zane's Third Birthday Party | Super Hero Style.

We celebrated Zane's third birthday a couple weeks ago before Christmas. It's hard to believe he's already three, not my baby anymore and daily growing into such a big boy. This year was pretty big for him; getting a new big boy bed, his first hair cut and potty training success! 

His birthday is 9 days before Christmas and I never want his BIG day to be overlooked because of the holiday. I always try to plan my kiddos birthdays around a theme and try to incorporate something they are interested in. Zane has been really into all things super hero lately so I decided to throw him a super hero party. 

I used a lot of his toys to decorate for the party, after scouring his room for all the super hero toys I could find I placed a few on the table for decoration. 

A super hero mask for each kiddo that attended the party. Table cloth and masks were found at Target, they have a great supply of super hero stuff right now. 

The dessert bar was one of my favorites to put together for this party. Cupcakes & cake were the way to go, plus I added these super cute 'Hulk' pudding cups they turned out so adorable. 

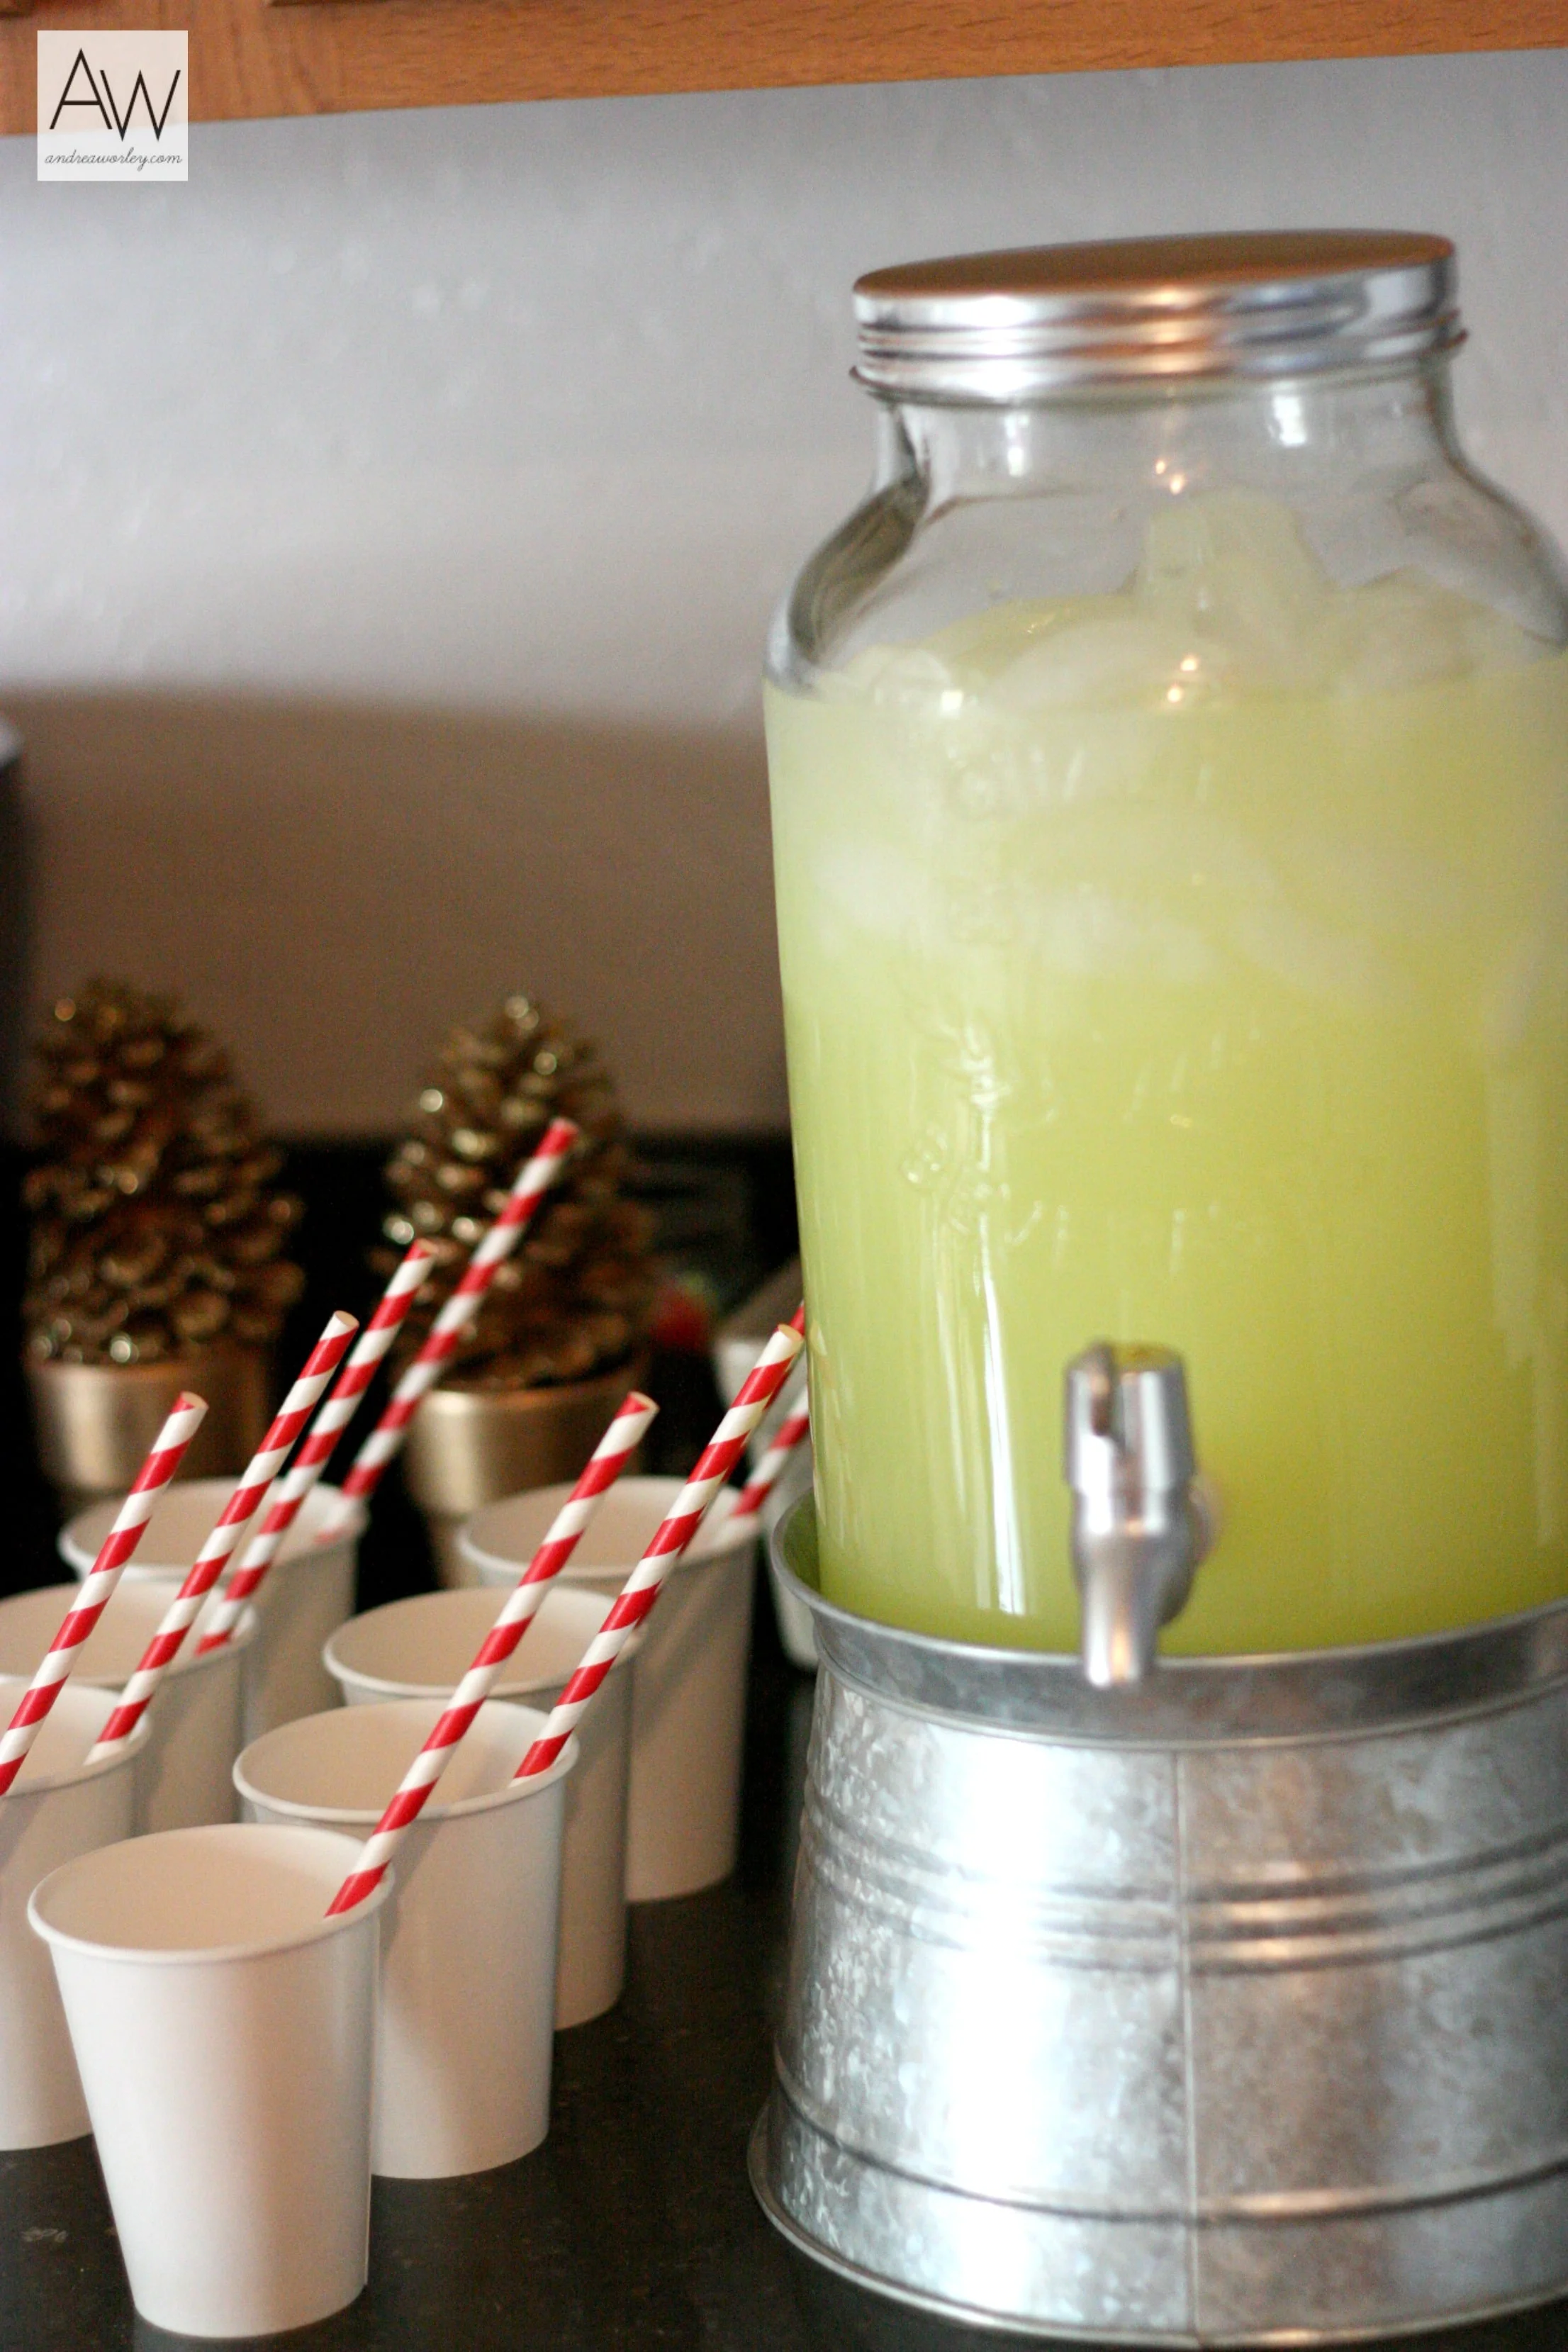
Avengers duct tape around water bottles instant hit and added fun decor. This is one of my favorite things to do for parties, it's so simple too! 


Source List:

table cloth, cake, masks, multi colored banner, napkins, plates- Target

City Skyline- DIY by Me

Red Paper Straws- The TomKat Studio

White Cups, silverware- Dollar Tree 

DIY | Painted Bathroom Vanity

We've been slowly making changes around our house when our budget allows. I'm all about tackling smaller projects that are easy to manage like our master bath. One thing I don't like in our home is the builder basic fixtures and vanities. I set out to makeover our master bath with some budget friendly makeovers. 

The first was making over the bathroom vanity, I decided to paint it with some chalk paint. I've used it before on furniture and loved the turn out. Here's the before of out bathroom vanity. 

To start I wiped everything down with a cloth and made sure there wasn't any dirt or dust on them. Then I took all the doors off and pulled out the drawers. The thing I love about chalk paint is the easy prep and application. 

I used General Finishes Milk Paint in Driftwood. I also used the same brand in their top coat to help add life to our painted cabinets. The paint I had left over from another project so this was practically free! 

Here's the after; I love how it turned out. 

I love the way this vanity turned out, it really transforms the space and I can't wait to keep making small updates in this bathroom. Next up, a new light fixture! Here's a little quick budget break down:

Paint $18 (used for two projects and still have some left)

Pulls $17.36

Have you recently transformed a space? Share them with me in the comments below I'd love to see them. 


DIY | Zane's Big Boy Bed

We've been working a lot on re decorating Zane's room from nursery to toddler room. So far I've sold all the old nursery furniture and used that budget to buy the new items we wanted for the room. I was excited to partner with EJs Auction & Consignment on this project. I attended one of their Saturday auctions bid & won this bed for Zane's room. 

I'd been searching Craiglist for something similar so I knew exactly how much I was willing to bid on this bed. I paid $50 for the bed. Here's what the bed looked like before. Not quite our style, but we planned on fixing that.

IMG_1923.JPG

My husband spent a few days sanding through all the varnish so that we could paint it. I originally was going to do a wood stain but after some trial I didn't end up liking the shade. I also have a few different wood tones in his room already so we decided to paint it.

I love the look of chalk paint, so I decided to use that. I used General Finishes Milk Paint in Driftwood. I love how it turned out with the chalk paint. 

Here's the beautiful after. The grey is a nice compliment I think to his room that is full of reds, creams and whites. 

Come back tomorrow to see the full room reveal! I can't wait to show you how this space came together! 

Thank you to EJs Auction & Consignment for partnering with me on this room makeover. 

DIY Disney Autograph Books

Last year when we went to Disneyland we didn't collect any character autographs, I didn't even think about it and by the time I did I didn't like any of the options to buy in the Disney shops. 

I wanted something a little more simple and clean. So I decided with a few supplies that I would make my own for us to take to Disneyland this year. These were super simple and easy to put together. Here's how I did it. 

Supplies: 

I found these hard cover books sold in sets of 3 in the 'Dollar Spot' at Target. I also found these Disney themed stickers in the greeting card section there as well. I loved these stickers again because they were simple and just Mickey themed not a whole bunch of characters. 

I placed a coordinating Mickey sticker for Zane, and Minnie on the fronts for the girls. Then using a Sharpie wrote a header and their names. On the backs I used smaller stickers and wrote the year so we'd remember. 

I wrote these myself with a black sharpie. If you aren't loving your hand writing you could use a stencil as well. I just love how simple they turned out. 

I found these cups at our local Frys grocery store and knew they'd be perfect to pair together as a great gift to give the kids before leaving for Disney! They loved them and had fun giving each of their books to the characters they met. 

Zane fell in love with Sleeping Beauty right away. She thought he was darling as well. 

Ava loved getting to meet Tinkerbell this year, since she didn't get to see her last year. I plan on putting pictures of each of them with the coordinating characters in their autograph books. We had each character purposely write on every other page so that we could attach a picture to the pages and also make it a photo scrapbook of the trip. I also plan on gluing their ticket stubs inside the books. 

These were simple and easy to do, and more personal that what you'd find at the gift shops. If you give this project a try I'd love to see them, tag me on Instagram @andreamworley

I can't wait to share more of our recent Disneyland trip in these next couple weeks. We had so much fun this year. Disney just does everything right and it's been so much fun spending another vacation there. 

Teacher Appreciation Gifts

This was Ava's first year in school, I love her teachers she had this year for Pre-K. They set the bar high for all future teachers. All teachers give so much to their students and the families, I love that there's Teacher Appreciation Week set aside to give them all the love they deserve. Truthfully I think we should do this year round for our teachers, but it's nice that there's a week set aside for them. 

I whipped up a set of mason jar tumblers to give to her teachers this year. These are super simple and I've been making them for a while whenever I need a quick gift. I used this tutorial for the lids.

I added some Starbucks Via packets to the inside of the jars. You could also add Crystal Light packets or something similar. I also had Ava write each of her teachers a personal thank you to add to each gift. 

The colorful straws are from World Market. I just love how bright and fun they are! Put them in a gift bag and you're set to go! These would also make adorable end of the year gifts for your teachers too!

What are some of your favorite things to give the teachers in your life?