Our Kitchen Reno | Tile Backsplash

I've been hinting and talking for a while now that the first major project in our new home would be updating our kitchen! We've been saving our pennines, pinning and planning since we moved in 7 months ago. We knew that this would be one of the things we tackled in our home for 2016, so today I'm sharing with you the first project we tackled in our kitchen; tiling the backsplash.
While my step-dad was in town over Christmas he helped my husband and I work on the back splash in our kitchen. My mom even stepped in and helped, it was a family affair. He and I went to the store a few days before and I picked out the tile and all the supplies we needed.
I'd been searching online for a while, and visited both Home Depot & Lowes to see their tile options up close and personal. In the end I chose this 12x12 white subway tiles with these glass tiles for fill in areas around the corners and ends.

This was a project we were able to complete within a weekend, but it didn't come without some trial and error and a run to the store for more supplies. Overall we were pretty impressed with ourselves as first timers doing tile work. My step dad helped us a lot especially with all the tile cutting around the outlets.
We budgeted $300 for this portion of our kitchen update. With tile, supplies and the rental of the wet saw we came in at $215 just under budget which makes us doing the happy dance!


Seeing it all come together was so fun. Next step add grout, seal and clean up!


Our kitchen is the biggest home DIY we've attempted so far. What I've learned already is measure, re measure and then do it again just to make sure everything is correct. Also allow for more time than you think to complete a project. Whatever you think it's gonna take, double that. I thought we'd knock this out in a day, but I was wrong. After a few trips for more supplies (hence re measure) we were back on track. It was more realistic to tackle this within a weekend. Which is what we did. Let's take a quick look at the before and then the beautiful after.


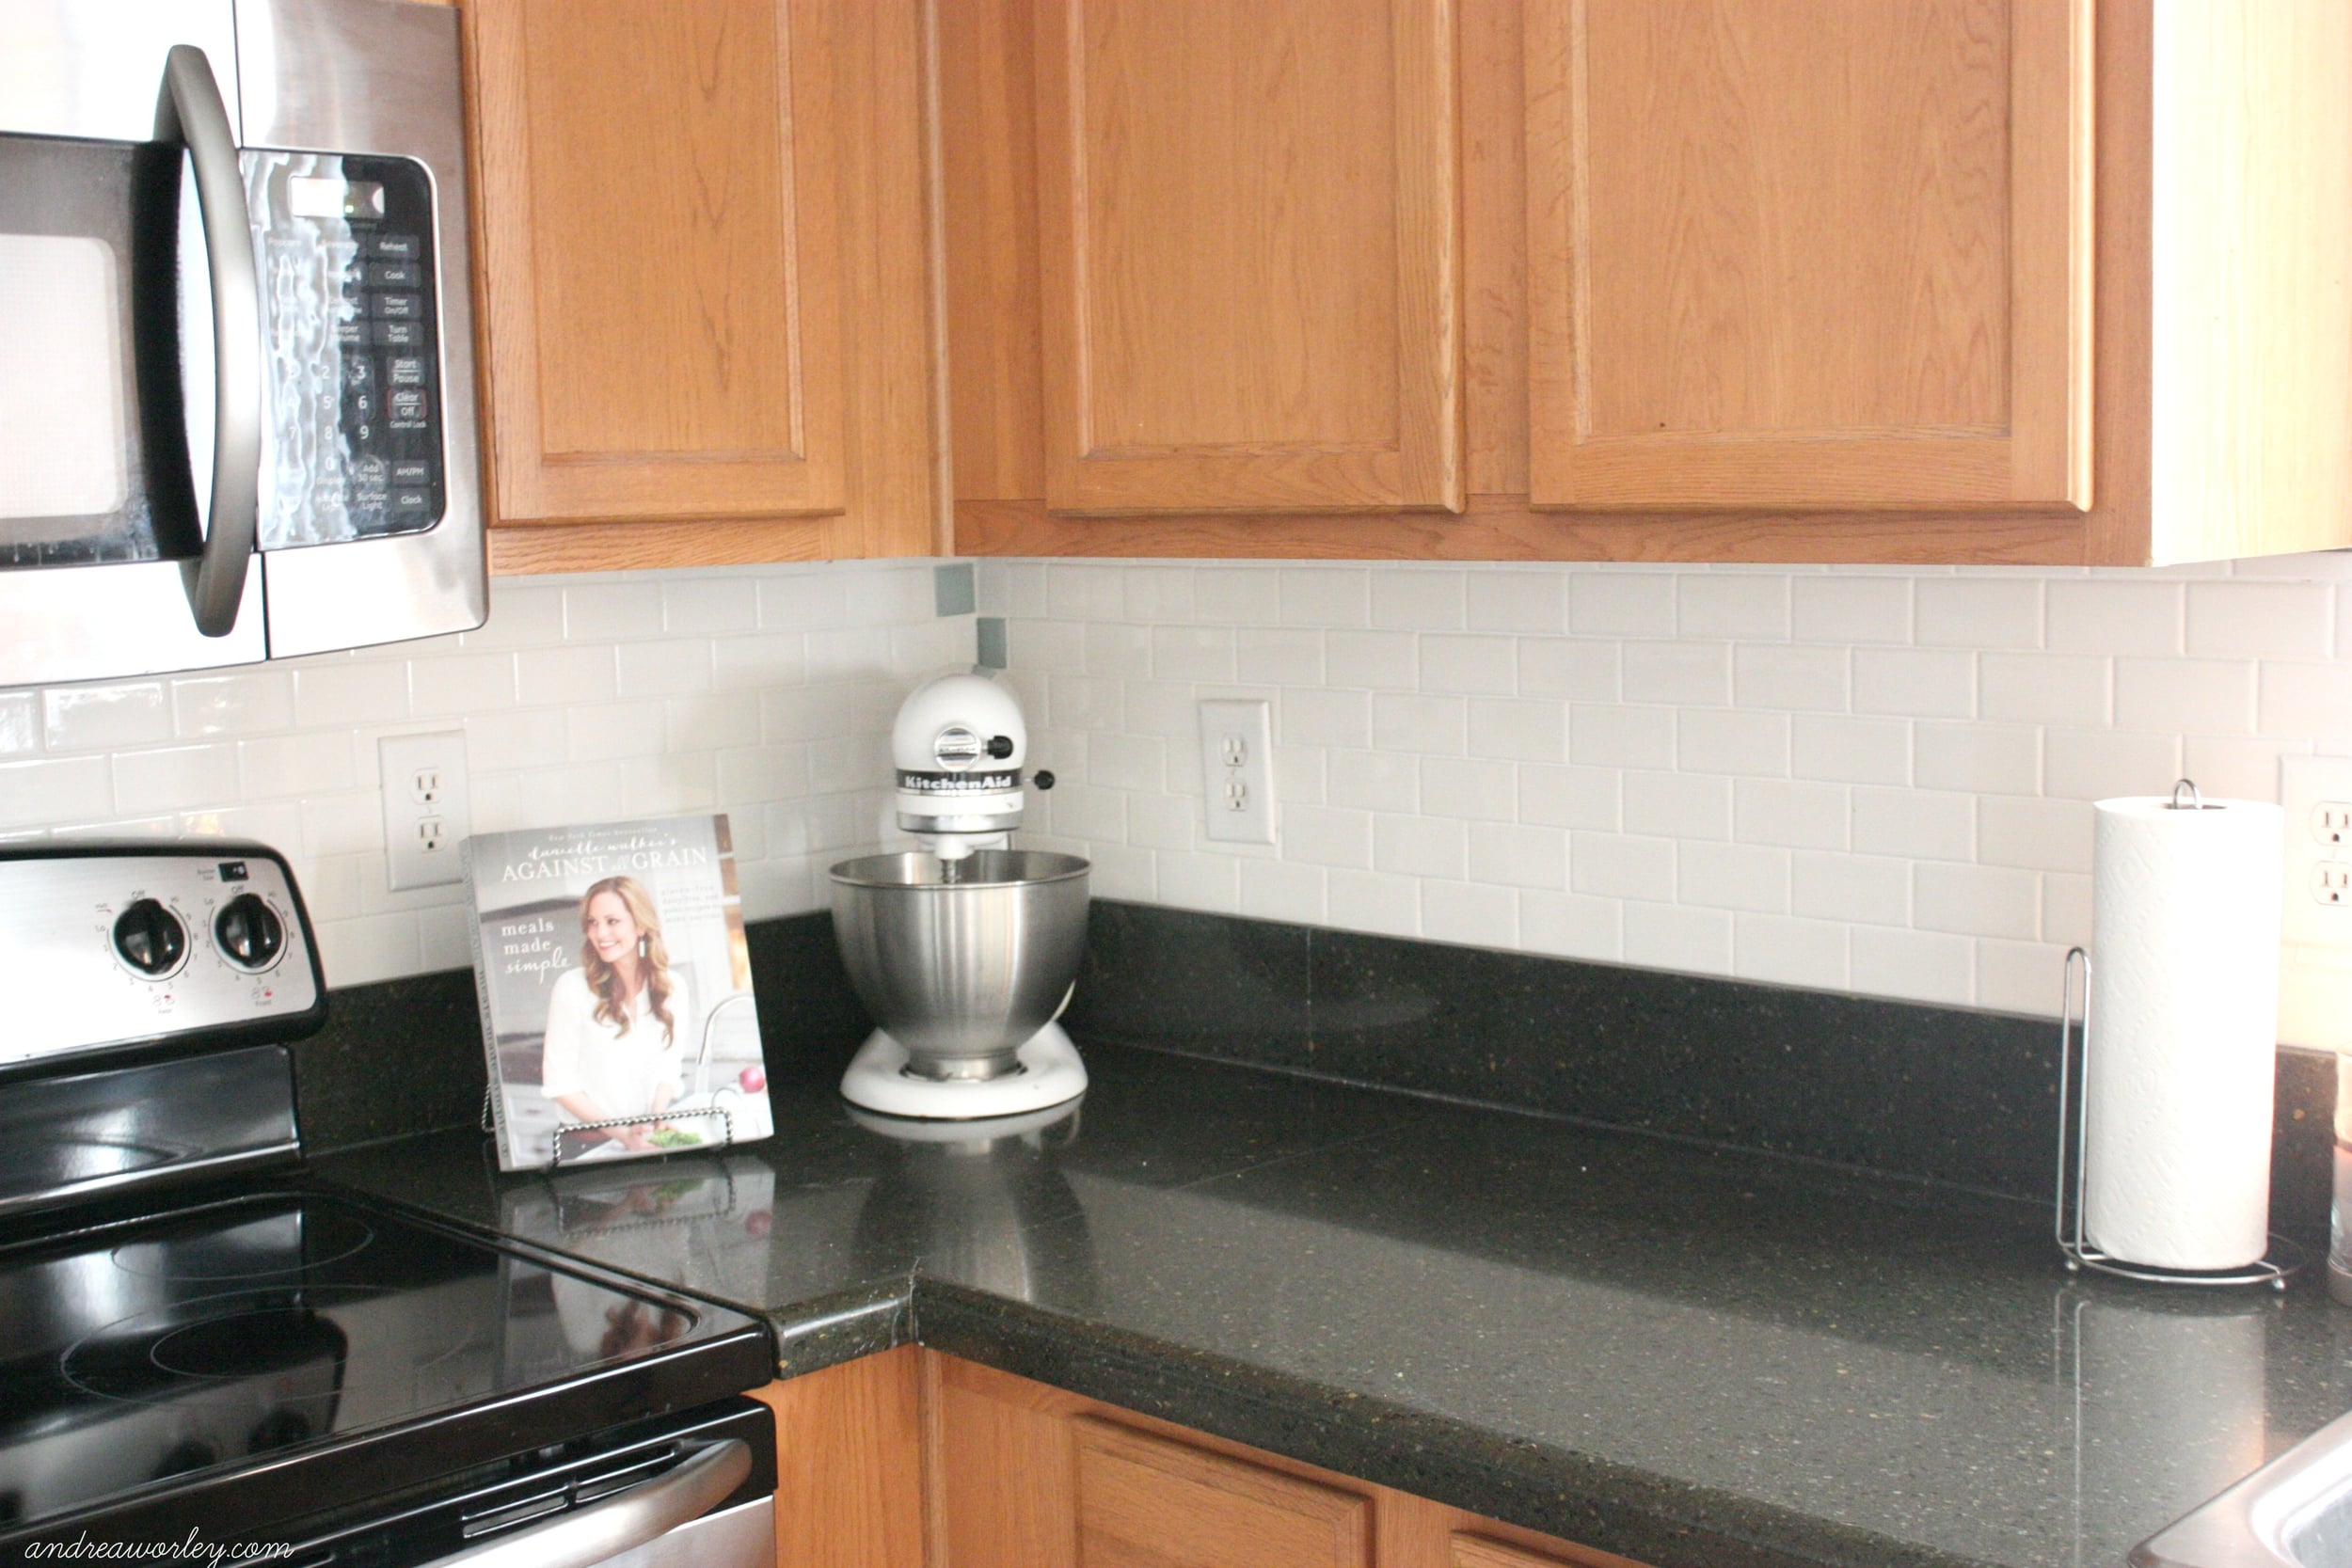
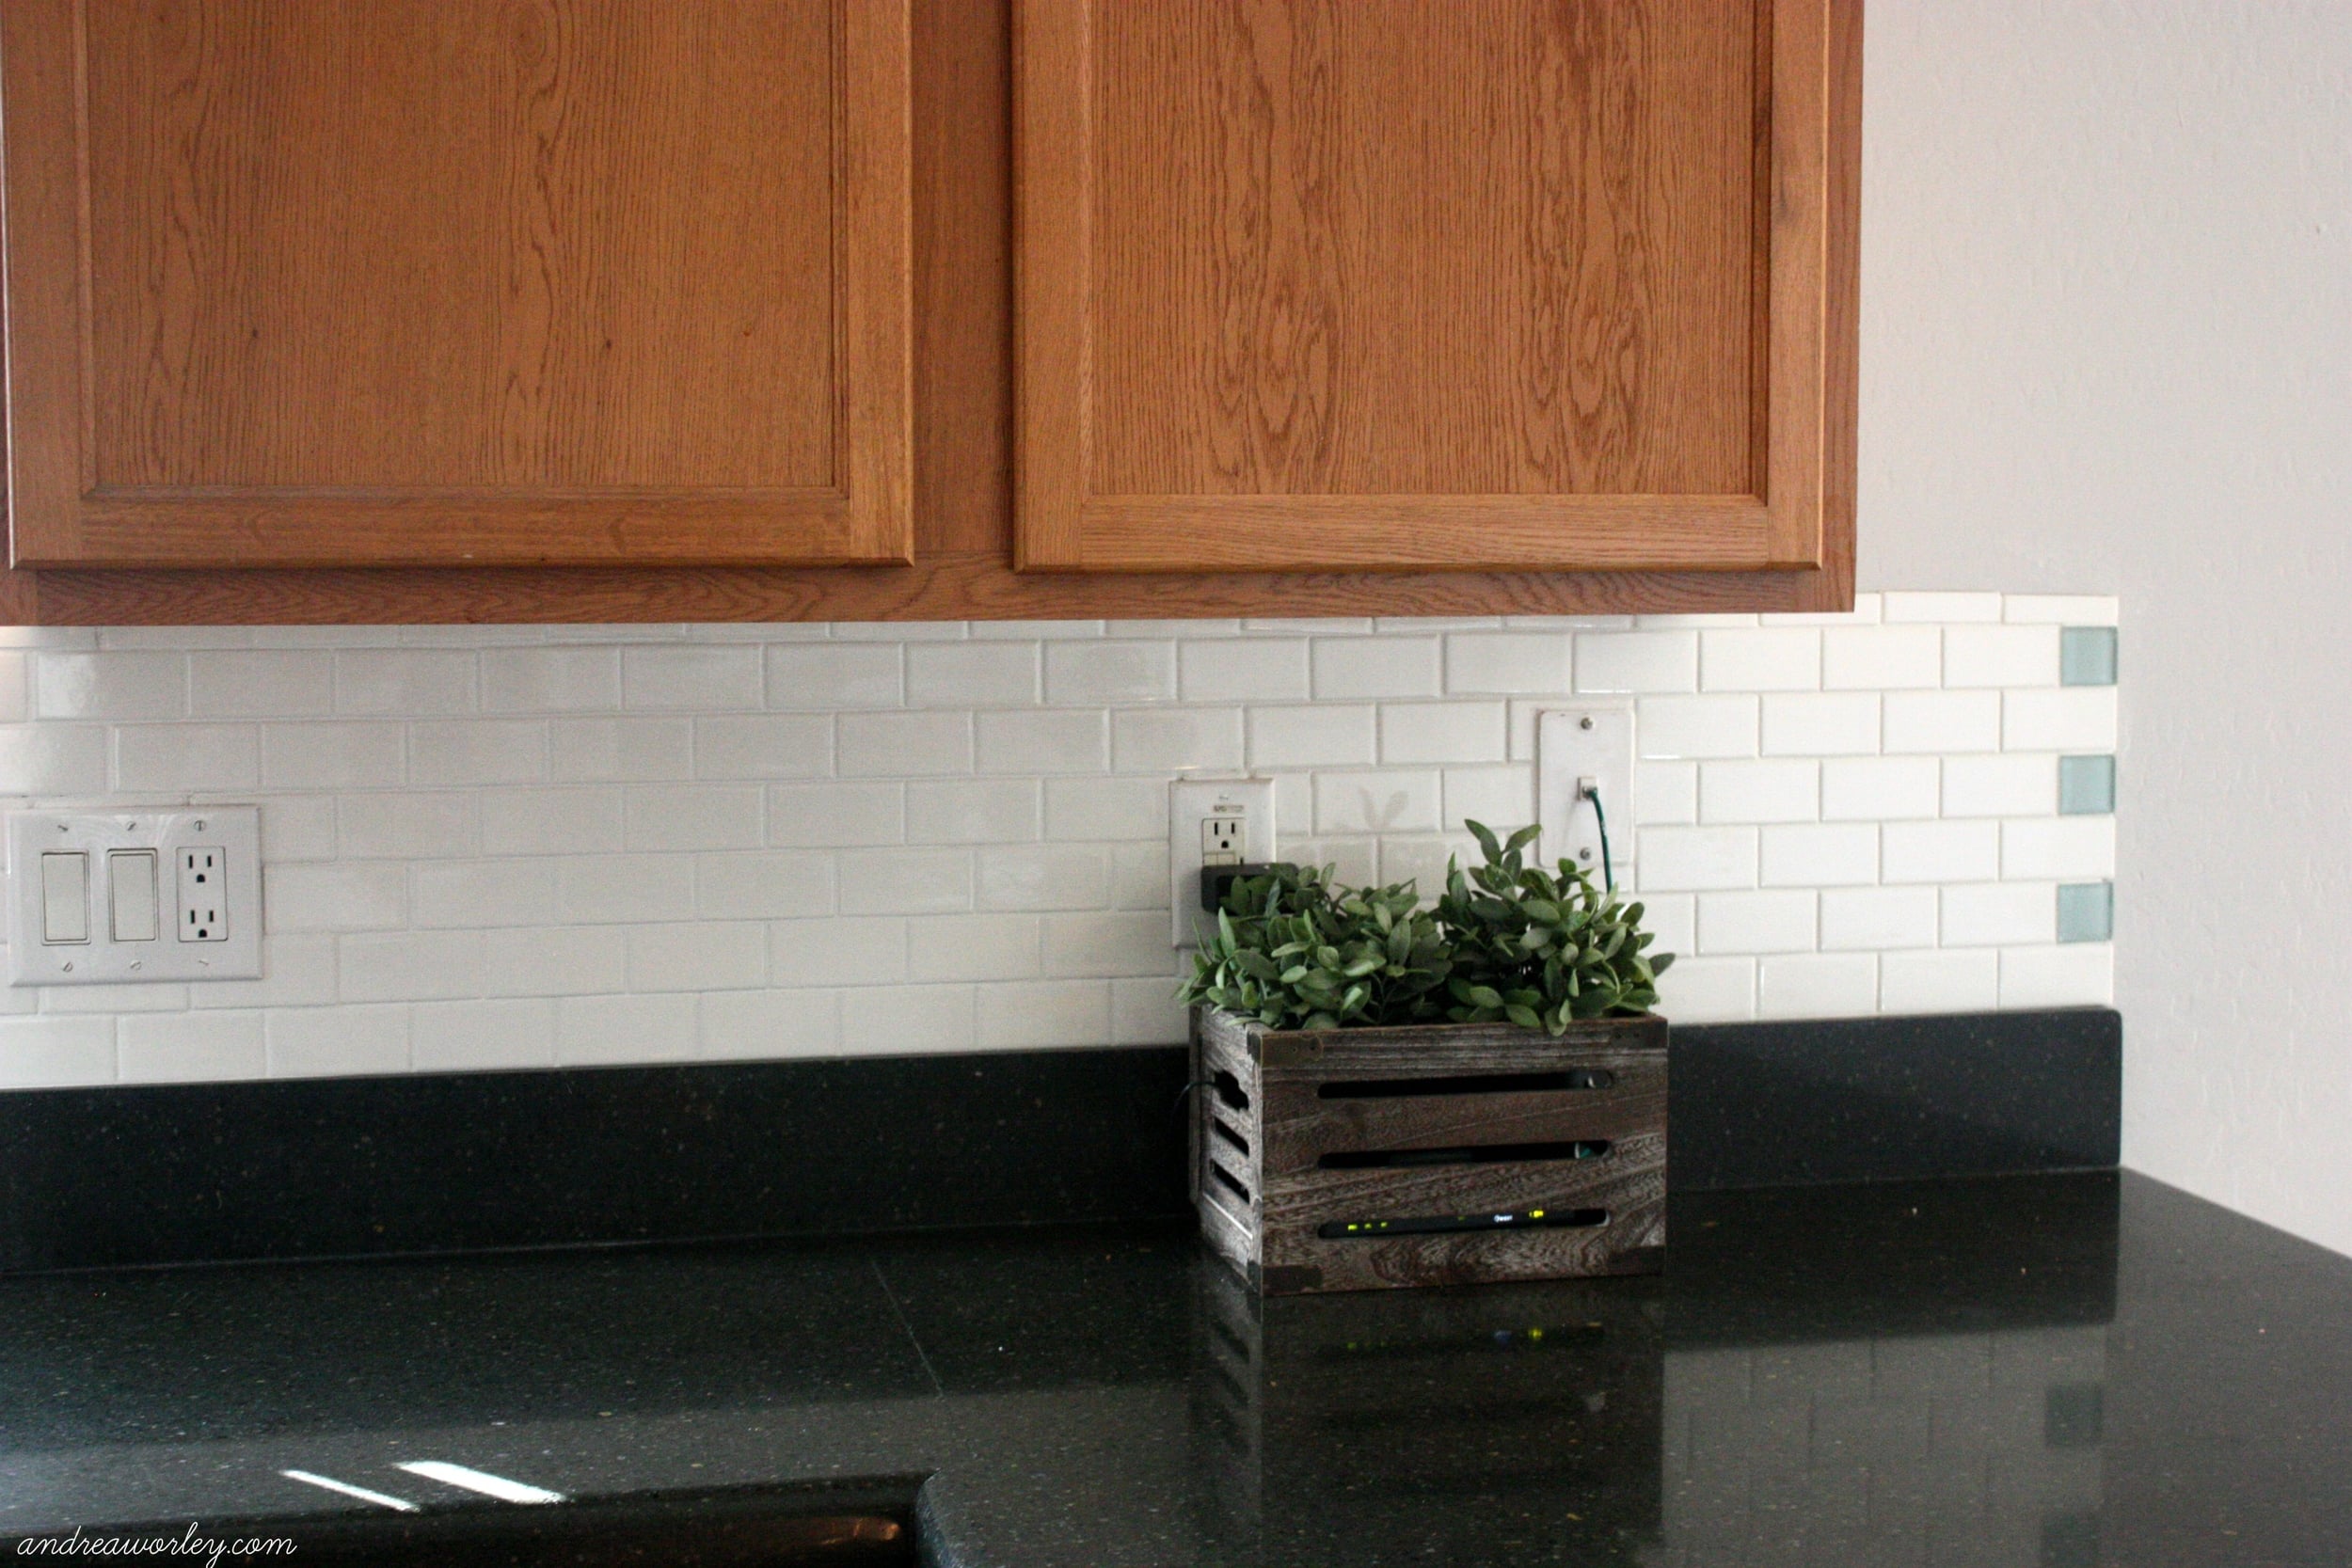

My kitchen feels so fancy to me now! This has for sure been such an awesome upgrade to this space and we love how it turned out and can't wait for more projects in this space! The next thing we want to do is paint the cabinets. Our main two goals for this space was to brighten it up and add value to our kitchen, I think we've got a great start on accomplishing our goals!
DONE:
- update light fixture ($40)
- tile backsplash ($215)
TO-DO:
- paint cabinets
- add hardware
Thanks for letting me take you on a little tour and show off parts of our kitchen!